Tuesday 29 September 2015

India cpc rate in youtube adsense reach 2.35$

Helo guys check my youtube adsense cpc :-

I block some lowest cpc ad in allow and block list. And then after somedays my youtube advertise cpc rat fastely increase and rech 2.35$ you can see the photo above.this is screen shot of my phone with adsense app


Monday 28 September 2015

Youtube Offline Mode In India!

YouTube offline mode launched in India for Android and iOS users

By shelly singh


Earlier this year, while launching the Android One smartphones in India,Google also announced that it would be launching an “offline feature” for Indian users. Today, the company has launched the feature for Android and iOS users that essentially lets you download YouTube videos and play them back in offline mode when you don’t have data connectivities


So essentially when you are watching a video on the YouTube app, you will see an offline icon that sits beneath the video frame. Clicking on the button will download the video on your device and you will be able to watch it without a data connection for a period of 48 hours.

There is however a small catch — YouTube has said that the catalog of offline-enabled videos are limited at the moment. These videos include music videos from the likes of T-Series and Yash Raj films, as well as comedy videos made in India. To help monetize this initiative, this feature will be ad-supported, and such ads will also show up in offline mode.

“In a country like India, the future of the Internet is mobile. 85 percent of the Internet population will connect to the Internet with a mobile phone before any other device,” John Harding, Vice President of Engineering at YouTube said.

“Already, we are seeing over 40 percent of our traffic in India come from mobile devices, and we want to make sure we are making YouTube as enjoyable as possible for these mobile-first users. By launching this offline experience on YouTube in India today, we have to help people move past the challenges of data connection, speed, and cost to enjoy a smooth, buffer-free version of YouTube,” he added.


Sunday 13 September 2015

Play Halflife on Android wear


Wear

BY Shelly singh · JULY 22, 2015

Just because you can, doesn’t mean you should. But in this case, you totally should. If you recall, I demonstrated how to playTeam Fortress Classic on Android using the SDLash app. The app is able to emulate the GoldSource game engine, which was used in many of the classic valve games such as Half-Life and Team Fortress. Right now, I am putting together a tutorial on how to play Half-life on Android, but in the meantime, check out how to do it on Android Wear (albeit a little more complicated).

Surprisingly, the performance was not as bad as I was expecting. At times, the game got as high as 30fps and other times as low as 2 fps. Of course, things such as the lava graphics and special lightening caused a huge drop in fps. Also, trying to play a game on Android wear is a nightmare within itself. The app offers touchscreen controls, but on a 1.65 inch screen, they are almost impossible to use. Also, swiping to the left causes the screen to go back to the previous window.  Are you still interested in doing this haha? If so, here’s a rough guide on how to play half life on Android wear.

What You Will Need:

Original Half Life GameSDLash3D ApkExtras.7z 

Step 1: Enable USB Debugging

For this guide, I am going to assume that you have experience with adb and already have it setup on your computer. On your Android wear device, enable USB and bluetooth debugging.  You will need to go into the settings and tap the build number 7 times just like you do on your phone.


Also, enable USB debugging on your Android phone and within the Android wear app.

Once it’s all enabled, use the following command to connect adb to your watch so you can transfer files:

adb forward tcp:4444 localabstract:/adb-hub adb connect localhost:4444

You might have to accept a debugging confirmation on your watch after you do this. Type adb devices to make sure that your watch is connected.

If you still need help understanding this, check out my video tutorial on how to sideload apps on Android wear.

Step 2: Install SDLash3D

To install the app to Android wear, simply locate the location of the apk and type in the following:

adb -e install xashdroid-release.apk

It will install an app named half-life to your Android wear device.

Step 2: Xash & Valve Folder

On your android wear device, create a folder called xash.  Type in the following:

adb -e shell

cd sdcard

mkdir xash

Then on your pc, download and extract the extras.7z folder. Move the  valve folder and game controller text file (in the extras 7z zip) to the Valve folder located in your Half-life game on your computer. Have I confused you yet? Just to recap, in your valve folder on your computer (probably located under steamapps/common/half-life) you have the valve folder. Within that valve folder you also have the Valve folder you downloaded from the extras zip and the controller text file from that zip.


Next, create a folder called valve on your Android wear device. Type in the following (I am assuming that you are still in shell from the previous command and currently in the location /sdcard):

mkdir xash/valve

Now, let’s transfer the contents from the valve folder on your computer to the directory:

exit (to get out of shell)

adb -e push E:\Steam\steamapps\common\Half-Life\valve (change with location of your valve folder) /sdcard/xash/valve

This will take about 2 hours to transfer. Once it’s done, you should be able to launch the half-life app on your Android wear device and the game will load.


Play playstation on Android

play playstation games on android

How to be run playstation games on android

1 --- first you download (ePSXe 1.9.20 Apk)apk from this link(https://bloggerinfotech.wordpress.com/2014/07/27/epsxeplaystation-emulator-1-9-20-apkromsbios/)


2.-- 2nd you download psx bios from same link file name--(SCPH1001.bin )

3.-- open ePSXe 1.9.20 Apk  go to preferences

4.-- And click on bios file option and import bios file which you download (SCPH1001.bin)

5. go to menu and click on run bios

6th.-- and final your ps emulator working and play playstation games on android enjoy..


Without linux deploy to run kali on android


Without linux deploy to run kali linux on android

Install KALI LINUX in Android without Root. and without PC.

Posted by shelly singh 

Under: Android Tricks


The way to run KALI LINUX on android without rooting.

The very first step to this project is to have an Android phone running OS 4.1 +, although I have read that android 2.1+ is sufficient, I have used a Samsung Note 3 with the latest kitkat OS.

It does not need to be rooted.

.

Yes you heard me right, not root required.

.

Moving on, we have to remember that the majority of the android phones available now in the market are not 64 bit supportive they are all meant for 32 bit OS. hence, the OS needs to be 32 bit. period.

We begin by downloading the appropriate ISO image from the official kali linux website which you can find here-

Click hereto download

.

please make sure you download the 32 bit version which states Kali Linux 1.0.6 32 Bit Mini ISO as shown below-

.

Next, we need a PC emulator for Android and we choose to install the limbo PC emulator, it is interesting to note that it has been removed from Google play store so you will have to search for other alternatives like sourceforge.

Once downloaded and installed on your mobile device, you are ready for the real deal. Run the Limbo PC emulator on your mobile device, and configure it with the following parameters as shown in the figures below-

.

Make sure that the mini ISO image of Kali linux is saved/copied onto the Mobile device. And point the ISO image under CDROM option.

.

You will also need to allocate space for hard disk, this will be a collective figure and it will be split into swap and primary storage later. Select the Network configuration to be ?User? to use the default card/settings on the mobile device. Set Boot from device to be default so post installation, it will automatically boot from the hard disk. No changes to the Advanced configuration. ?Start? the emulator and you will see the installation window.

.

The easiest way to proceed would be the auto install but, I suggest manual install. Sometimes it could be an issue with finding the right mirror for the download but, trial and error always wins. (For latest mirror links refer official Kali website) But in most cases, with the auto install, it will find the nearest available mirror and download the packages. Packages being downloaded Setting up the root account Installation continues.. starting up the partitioner.. Guided partitioning..

.

Auto allocation of disk space, it allots swap and ext automatically but, you can manually change that as well.

.

Writing the partitions Quick glance at the installer menu? Almost there..

.

Congrats you now have kali linux on your android phone.

.

A couple of things to note:

.

1. You might face issues with installing additional software packages but, don?t be perturbed, remember you can skip them and install them individually post installation.

.

2. Once installation is completed, if the machine does not automatically boot, go to your machine in limbo PC emulator and point the boot device to Hard disk.

.

3. If you face boot loader issues, you can skip it and manually fix it at a later stage

.

4. For additional troubleshooting, try to tweak the CPU settings, allocated RAM, etc.


Gravity box for lollipop 5.0,5.1

Shelly

New GravityBox module for Xposed Framework brings Android 5.1 compatibility update: How to install


By shelly singh

May 19, 2015 09:10 BST   

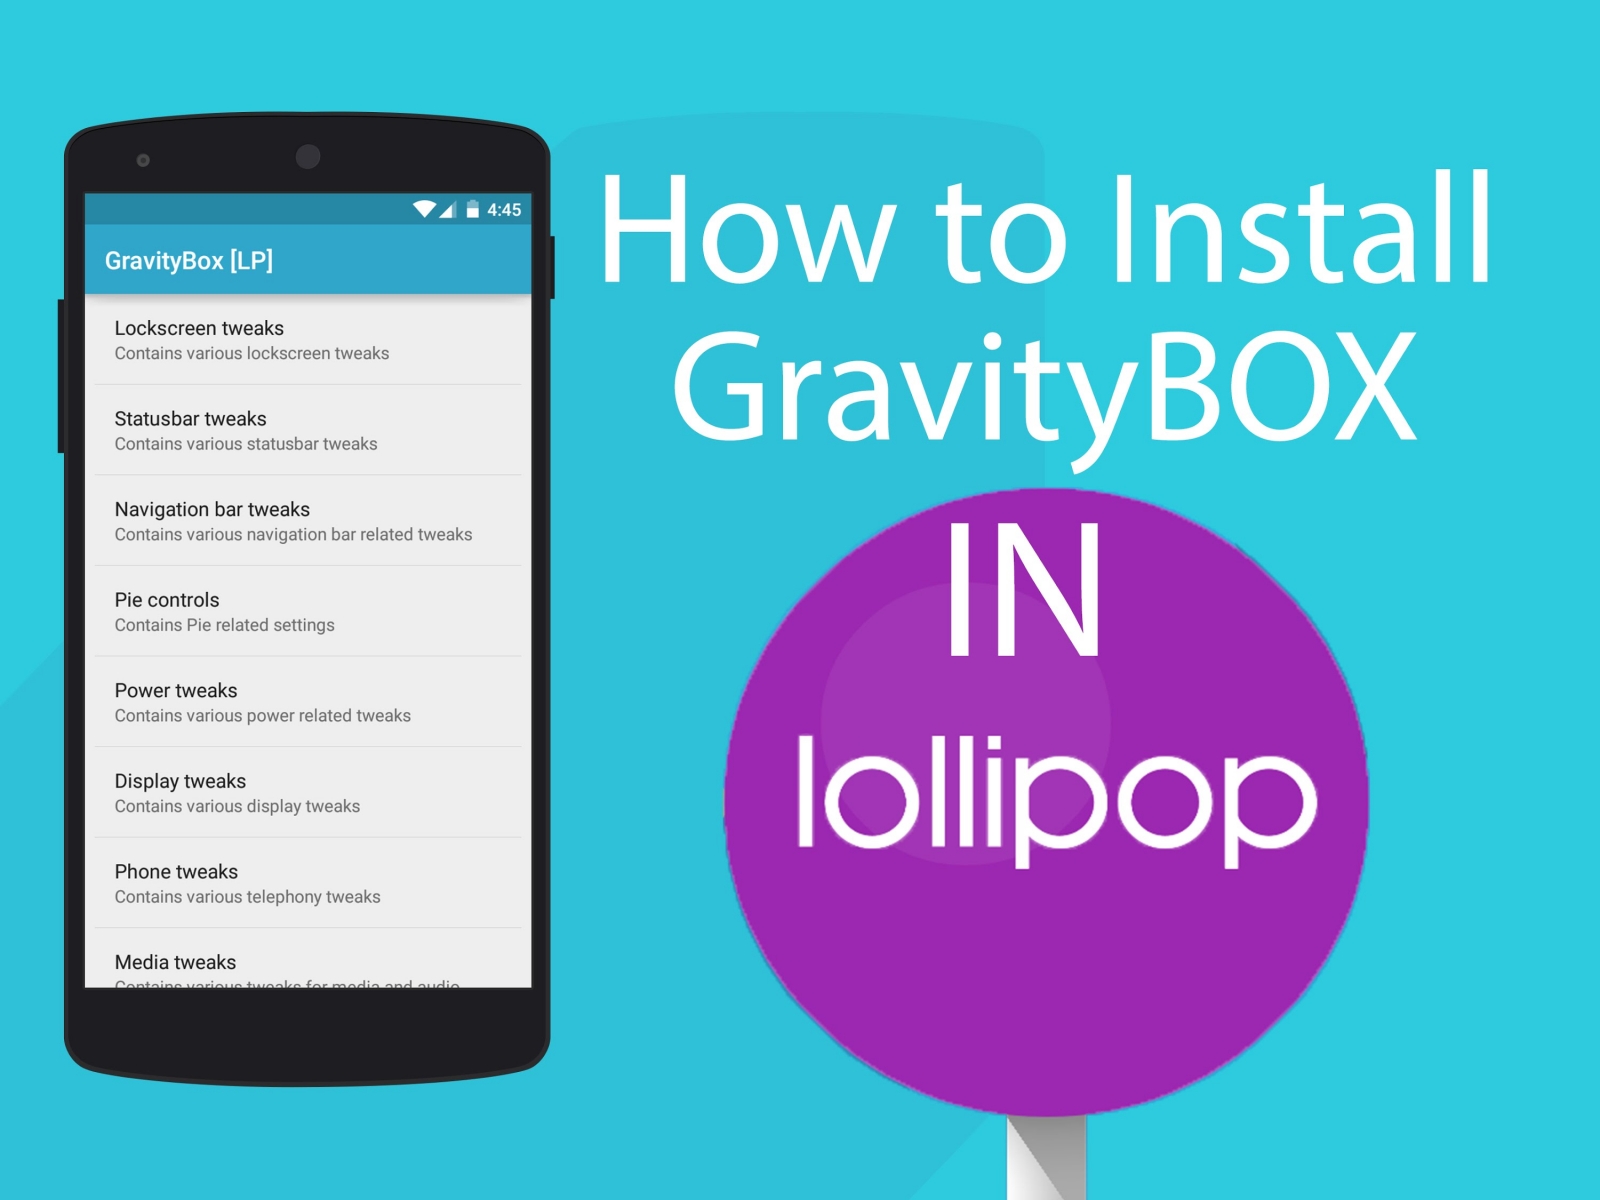
New GravityBox module for Xposed Framework brings Android 5.1 compatibility update: How to installYouTube

Android Lollipop fans are in for some exciting news, as the industrious XDA developer C3C076 has just announced the release of popular Xposed Framework module, Gravitybox, with the Android 5.1 compatibility update.

The complete feature list for the newest version of GravityBox is given below:

CyanogenMod Pie controlsExpanded DesktopStatusbar QuickSettings tile management with additional tiles and reordering /* work in progress */Statusbar icon coloringStatusbar Brightness ControlCentre clock in statusbarBattery indicator styleNavigation bar tweaks including cursor control keysLow battery warning policyDisable LED flashing when battery lowDisable LED while chargingAdvanced power-off menu (reboot, recovery)Volume key cursor controlSkip tracks by volume key long-press while screen off (thanks to rovo89)More volume levels for music streamOption to control safe headset media volumeButton for clearing all recent tasks at onceMinimal brightness settingAuto-brightness levels adjustmentLockscreen tweaksHardware/navigation key actionsNotification drawer style (background color, image for

portait/landscape, transparency)

Button backlight modes (default, disabled, always on while screen is on)Dialer (Phone) tweaksGoogle Launcher tweaksScreen recordingGravityBox Actions - interface for 3rd party appsSmart RadioNotification control (per-app notification LED/sounds/vibrations)Ascending ring tone

Why advertise with us

As Google is yet to release an official Android 5.1 update for the Xposed Framework, you could try downloading the unofficial port for the same while installing the latest version of GravityBox.

On the downside, the latest Lollipop version of GravityBox omits a few minor features including signal cluster tweaks and status bar colouring, owing to the major overhauling required for the new dual SIM support feature introduced in Android 5.1.

The ringer/notification volume controls also get a major tweak that removes access to the feature from sound and notification settings, and instead limits its use within the expanded volume panel.

The other major constraint with the new GravityBox module is the lack of support for non-Nexus and non-Google Play Edition (GPe) devices. Consequently, it may lead to a handful of bugs if you try to flash it on some native UI skin like TouchWiz or HTC Sense.

The developer has also advised users to avoid soft rebooting the device after flashing the GravityBox module to prevent unexpected issues with apps rebuilding from scratch with each system boot.

Interested users can go ahead and install the Xposed Framework module GravityBox on their device, using the step-by-step guide posted below.

Prerequisites

Ensure that the device is already running Android 5.0 Lollipop update, which is based on AOSP (vanilla or something similar to Vanilla Android).The ROM must be rooted, before you try installing the Xposed Framework modules.Verify that the custom recovery tool installed on your smartphone is functional, as you will need to take a backup before installing the Xposed Framework.


Steps to install Xposed Framework module GravityBox with Android 5.1 Lollipop compatibility for your device

1. Follow installation instructions forXposed Framework alpha version for Lollipop. If you are already running Android 5.1 Lollipop, make sure to download and install unofficial Xposed Framework SuperAlpha.

2) Download GravityBox APK, rename it to GravityBox.apk and install it.
Alternatively, you can download the latest GravityBox directly from Xposed Installer (search for GravityBox [LP] module).

3) Make sure GravityBox app is installed into internal memory. If it was installed into phone storage or external storage,
move it into the internal memory first (applies only to devices having additional or external storage)

7) Run Xposed installer, go to Modules menu and activate GravityBox by checking the checkbox

8) Reboot

9) Launch GravityBox from app drawer or from Xposed installer and set the desired options


How to Install and run Kali Linux on any Android Smartphone

TUTORIAL FOR INSTALLING AND RUNNING KALI LINUX ON ANDROID SMARTPHONES AND TABLETS

Kali Linux is one the best love operating system of white hat hackers, security researchers and pentesters. It offers advanced penetration testing tool and its ease of use means that it should be a part of every security professional’s toolbox.

Penetration testing involves using a variety of tools and techniques to test the limits of security policies and procedures. Now a days more and more apps are available on Android operating system for smartphones and tablets so it becomes worthwhile to have Kali Linux on your smartphone as well.

Kali Linux on Android smartphones and tablets allows researchers and pentesters to perform ” security checks” on things like cracking wep Wi-Fi passwords, finding vulnerabilities/bugs or cracking security on websites.  This opens the door to doing this from a mobile device such as a phone or a tablet.

You can also install Kali Linux Distribution in your
Android smartphone by following the instructions below  :

(Rooted Android smartphone/tablet required for this installation)

Keep the following thing ready for the installation :

Fully charged Android PhoneGood Internet Connection(For Download Kali Linux images)Root Permission (Rooting Guide for Every Phone)Atleast 5GB  Free Space

Step 1. Download Linux Deploy App in Your Android Mobile from Google Play Store.


DownloadQR-Code

Linux Deploy

Developer: meefik

Price: Free

Step 2. Install and open Linux Deploy App in your mobile and click on download Icon.


Step 3. Change the Distribution of Your Linux to Kali Linux.


Step 4.  Go to Top of the screen and hit the Install button. This will take about 5 minutes provided you have a good Internet connection.


Step 5. Download Android VNC Viewer App from Google Play Store.


DownloadQR-Code

VNC Viewer

Developer: RealVNC Limited

Price: Free


Step 6. After installing, enter below  settings in your VNC Android App.


Step 7. Click the Connect Button in VNC Viewer App.

Now you are done and you will be able to run Kali Linux in your Android smartphone or tablet. Check the video tutorial below for a step by step procedure: